Pita bread is a flatbread common in the Middle East and Mediterranean regions. It is leavened with yeast and is mostly made with a pocket or sometimes without. It is quite easy to make at home.
Pita bread can be used as a wrap, whole or separated into two. It can be used in wrapping Shawarma, gyros, for scooping luscious dips, accompaniment for soup etc. I make large pita bread for wraps and cute little ones for pockets. To serve with a soup, I like it a bit on the dry side.
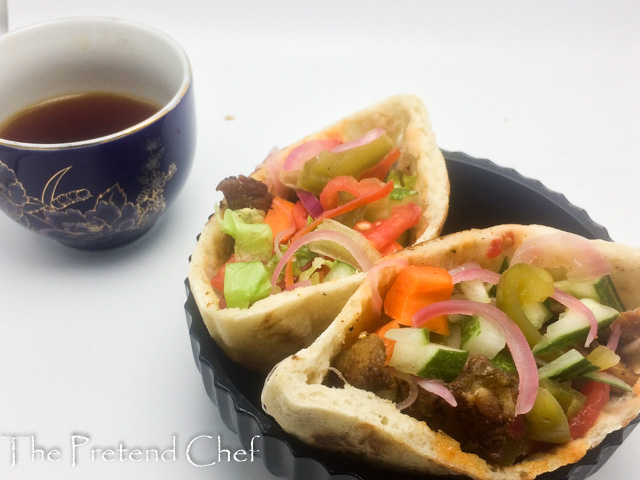
It can be made on the stovetop or in the oven. I prefer using the stovetop in a pancake pan or frying pan because it browns the bread better. The temperature of the oven or pan needs to be very high, as hot as 230-260 deg C before the dough is put in. The heat will create steam inside the dough and it will puff up.
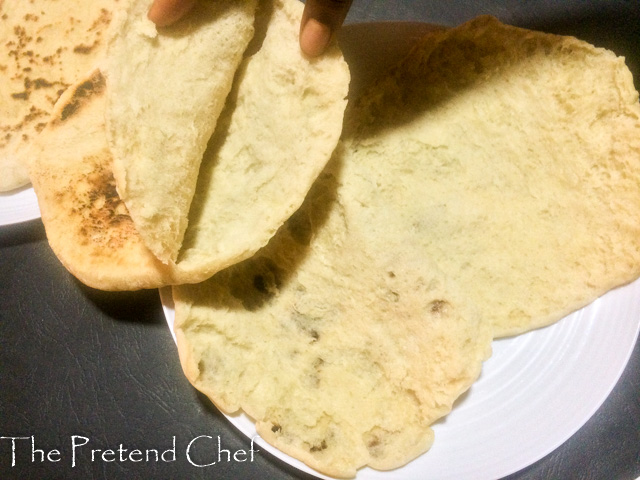
Be careful when adding flour, too much will prevent your bread from puffing up well and will dry it out. Also, knead well to work up gluten.
Use it to wrap my delicious Easy Homemade Shawarma (Middle Eastern/Nigerian), click for recipe.
To make Homemade Pita Bread
3/4 - 1 cup warm water
2 teaspoons active dry yeast
2 teaspoons sugar
2 cups flour
1 teaspoon salt
In a small bowl put warm water, sugar and yeast, stir and leave in a warm place for 10 minutes. There should be air bubbles on the surface.
In another bowl, sift together flour and salt.
Pour in the yeast mixture. Mix and knead until you have a soft and pliable dough.
Rub oil in the bowl and roll the dough in it to coat the surface with oil.
Cover the bowl and set aside for one hour in a warm place until double in size.
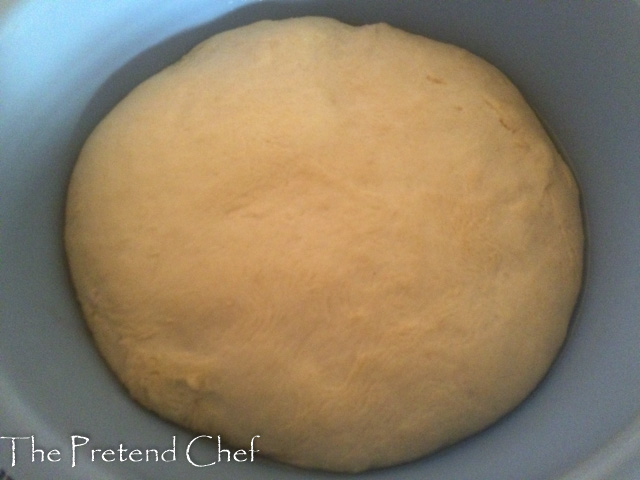
Knock the risen dough back.
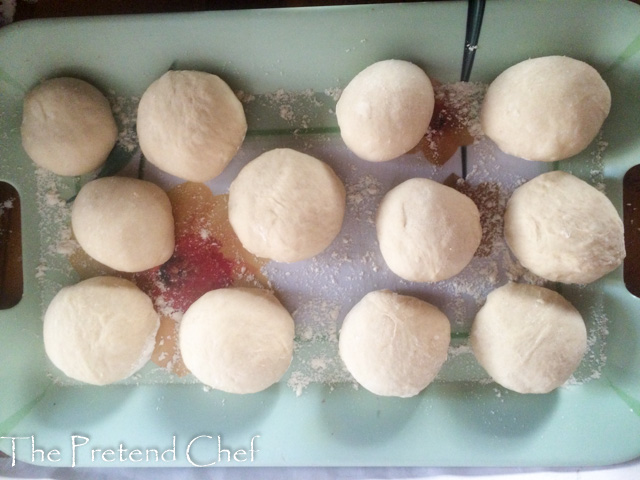
Divide into fist-sized portions for large pita bread and smaller for small-sized bread.
Roll into balls, place on a floured surface and cover with a dishcloth, leave to rest for 10 minutes.
Place a dry pancake or frying pan over high heat.
Sprinkle a flat surface lightly with flour, and roll each ball into a 1/8-inch thin circle.
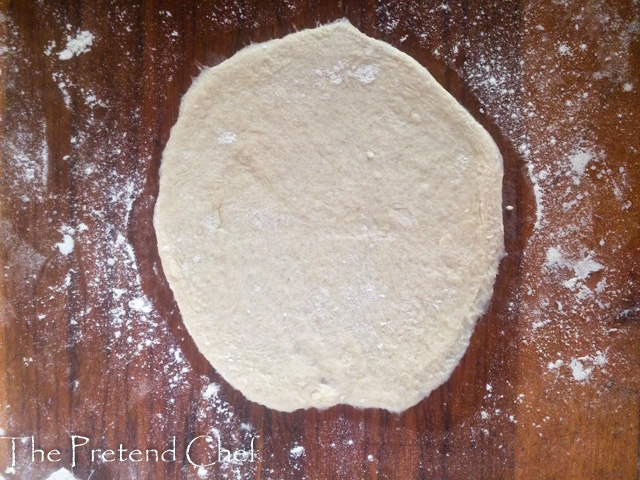
Lay on the pan and grill for about 30 seconds, until you see bubbles starting to form.
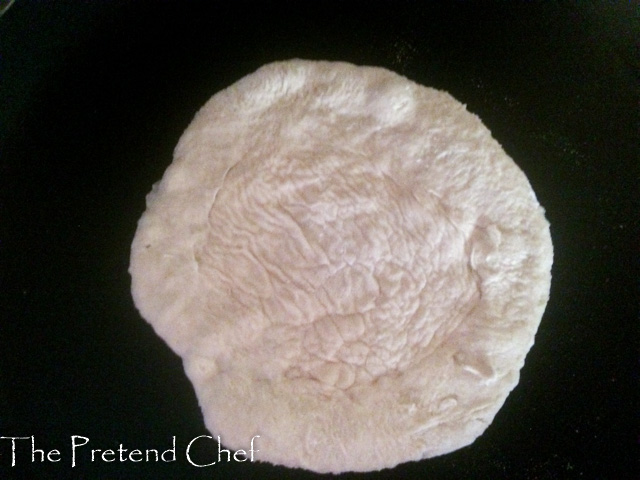
Flip and grill for 1-2 minutes, flip again and grill another 1-2 minutes, by now the bread should start puffing up.
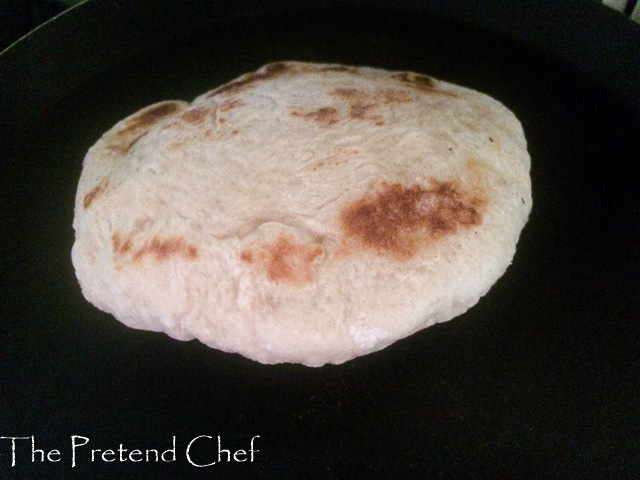
You can press the surface gently with a fish slice to spread the bubble if it’s only puffing up on one side.
If it has small bubbles, press gently to encourage the formation of the pocket.
Place the Pita bread on a plate and cover with a dishcloth, tucking the sides underneath or place in a plastic bag to keep soft.
Keep cooking the rest of the Pitas.
For Flatbread
After rolling out, use the tips of your fingers to indent the surface.
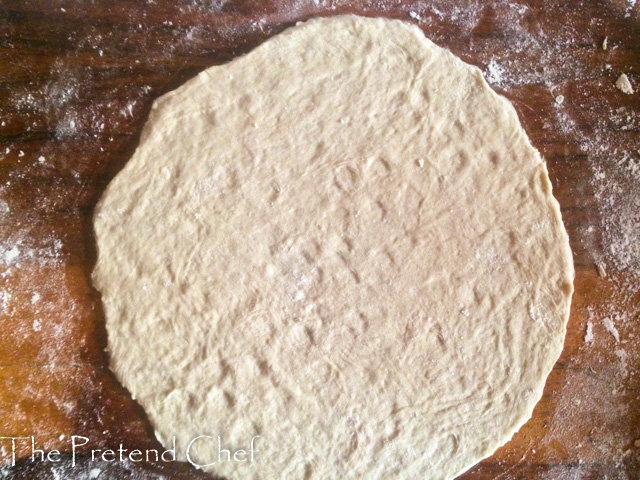
Place on the hot frying pan and be pressing out the air from any bubble that forms.
Put Pita bread in an airtight bag and store it in the fridge. Warm in the microwave oven or toaster oven. Freeze Pita bread with wax paper in between or freeze separately and pack together when frozen. This will last for months.
Notes
- You can use milk in place of water for softer bread.
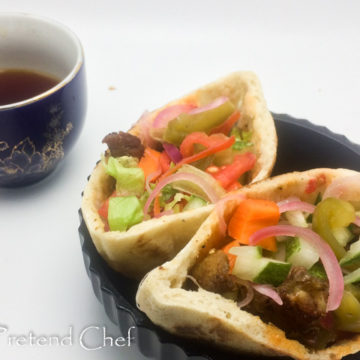
Homemade Pita Bread
Ingredients
- ¾ - 1 cup warm water
- 2 teaspoons active dry yeast
- 2 teaspoons sugar
- 2 cups flour
- 1 teaspoon salt
Instructions
- In a small bowl put warm water, sugar and yeast, stir and leave in a warm place for 10 minutes. There should be air bubbles on the surface.
- In another bowl, sift together flour and salt.
- Pour in the yeast mixture. Mix and knead until you have a soft and pliable dough.
- Rub oil in the bowl and roll the dough in it to coat the surface with oil. Cover the bowl and set aside for one hour in a warm place until double in size.
- Knock the risen dough back.
- Divide into fist-sized portions for large pita bread and smaller for small-sized bread.
- Roll into balls, place on a floured surface and cover with a dishcloth, leave to rest for 10 minutes.
- Place a dry pancake or frying pan over high heat.
- Sprinkle a flat surface lightly with flour, and roll each ball into a 1/8-inch thin circle.
- Lay on the pan and grill for about 30 seconds, until you see bubbles starting to form.
- Flip and grill for 1-2 minutes, flip again and grill another 1-2 minutes, by now the bread should start puffing up.
- You can press the surface gently with a fish slice to spread the bubble if it's only puffing up on one side. If it has small bubbles, press gently to encourage the formation of the pocket.
- Place the Pita bread on a plate and cover with a dishcloth, tucking the sides underneath or place in a plastic bag to keep soft.
- Keep cooking the rest of the Pitas.
For Flatbread
- After rolling out, use the tips of your fingers to indent the surface.
- Place on the hot frying pan and be pressing out the air from any bubble that forms.
Storage
- Put Pita bread in an airtight bag and store it in the fridge. Warm in the microwave oven or toaster oven. Freeze Pita bread with wax paper in between or freeze separately and pack together when frozen. This will last for months.
Notes
- You can use milk in place of water for softer bread.
If you enjoyed my Easy homemade Pita bread, you will also enjoy my East African Green Amaranth Chapati, Nigerian Pancake Diet, Soft Potato Bread and Easy Homemade Pizza.
Do you have any COMMENTS, QUESTIONS and SUGGESTIONS, please leave a comment below.
SUBSCRIBE to the blog for instant notifications of new recipes.
Please SHARE this recipe using the share buttons.
Follow on INSTAGRAM: @thepretendchefofficial, TWITTER: @thepretendchef FACEBOOK: https://web.facebook.com/thepretendchef/, PINTEREST: https://www.pinterest.com/thepretendchef/
 I am Ganiru, a wife, a mother, a food blogger, a chef, an author and an accountant. I love to cook and write about food, especially Nigerian and afro-centric food...
It’s very good and sweet thank you for this
Thank you